When I asked David what he wanted to be for Halloween last year, he emphatically said “A STELEKON!”
So I started looking around on Pinterest and trying to figure out how I could make on myself. Emphatically.
I found a bunch, but this was easily my favorite. Comfy, cute, and cheap to make on your own. I looked at the instructions and thought two things: 1) I have a sewing machine, but I only sort of know how to sew. 2) When I’m in the planning stages I can be really really ambitious about my time and abilities.
I showed the idea to my sister-in-law (who has a lot of sewing experience) and she immediately said, “This looks really involved. I’d just glue the pieces on.”
And, with that, she saved Halloween.
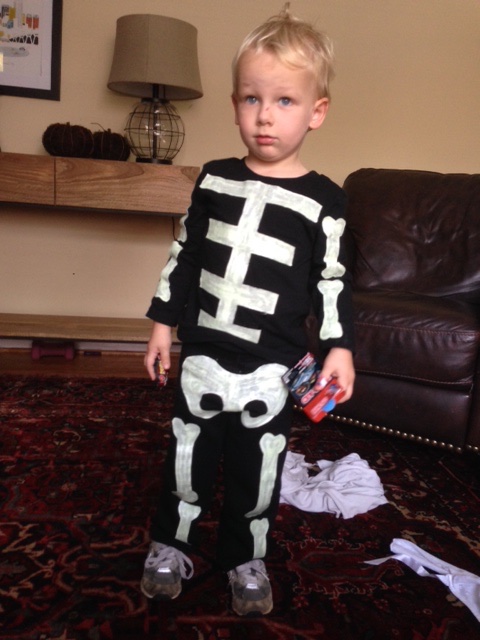
Ladies and gentleman, my DIY stelekon costume:
It was super easy and super cheap; here’s how I did it.
I started with black pants and a long-sleeved t-shirt that I got at Target for $5 or so (similar).
To make the bones, I used one of Tom’s worn-thin white undershirts.
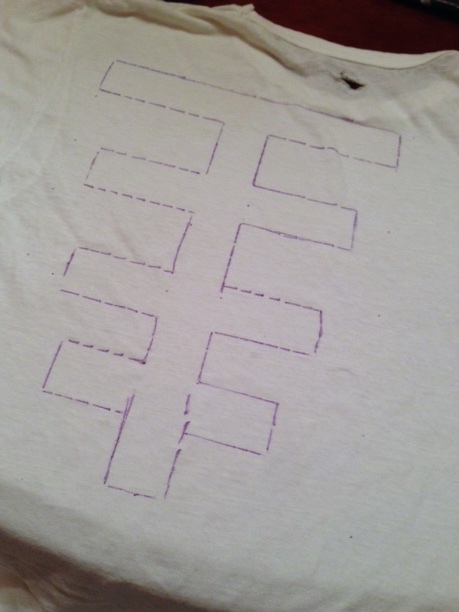
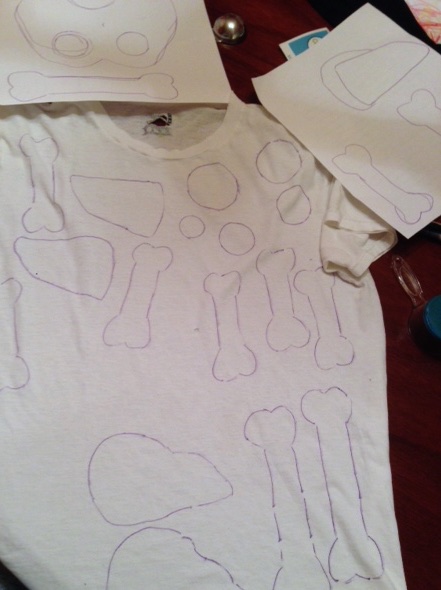
I found a printable template online (here), but drawing my own seemed as easy as printing and tracing — though I did use a ruler to help with the ribs.
(These are all iPhone photos because, remember when our house got robbed? I made the costume before we replaced our camera, so iPhone was the best I could do.)
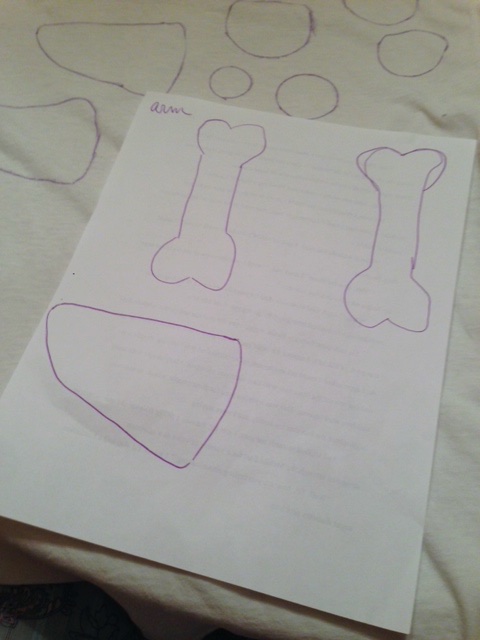
I used most of the bones more than once (i.e., two forearms, two femurs, etc.), so I drew some arm bones on a piece of paper and traced them a few times.
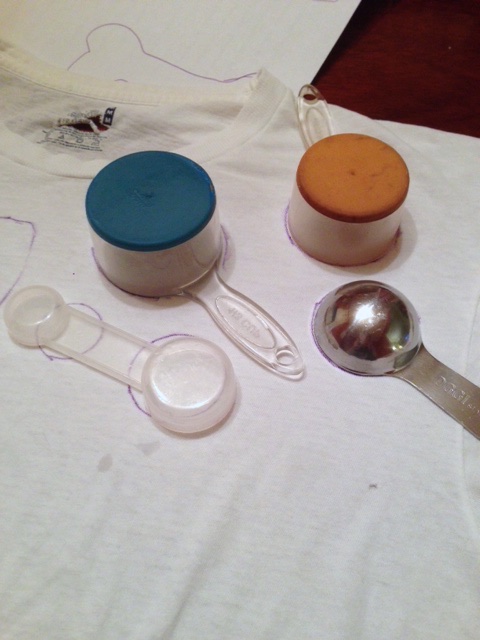
The spine was a series of circles, and used different measuring cups and spoons as guides.
Everything fit on the front and back of one men’s size medium undershirt.
Before cutting everything out, I painted the pieces with glow-in-the-dark paint. This might have been the most time-intensive part of the whole process. I applied the paint liberally, and did my best to smear it evenly with my fingers.
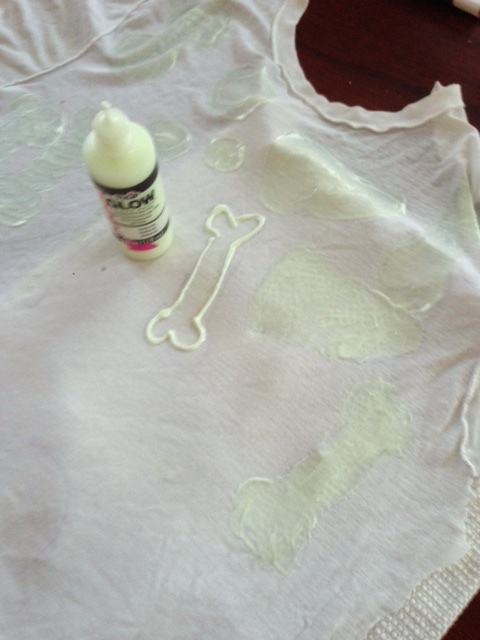
After the first coat, I looked at the result in a dark room and was underwhelmed. It wasn’t bright and looked like a poorly-executed craft. I ended up applying several more coats, and each coat needed at least 12 hours to completely dry. So I painted, hung them on a drying rack over night, then started over until I was happy with the results. Oh, and you also have to keep your toddler from taking it off the drying rack and running around the house. On second thought, that’s the most time-intensive part of this process.
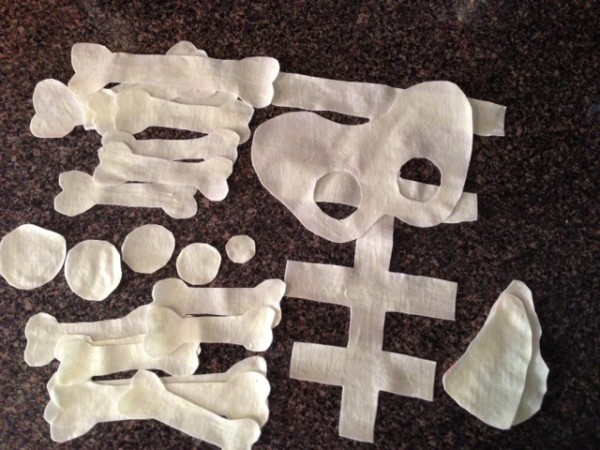
When I was done, I cut out all the pieces.
When I showed them to David he said, “Where’s my bat costume? I want to be a bat!”
And I said something like, “YOU ARE GOING TO BE A SKELETON OR I AM CANCELLING HALLOWEEN!”
Emphatically.
Finally, I glued the pieces to the black shirt and pants using fabric glue.
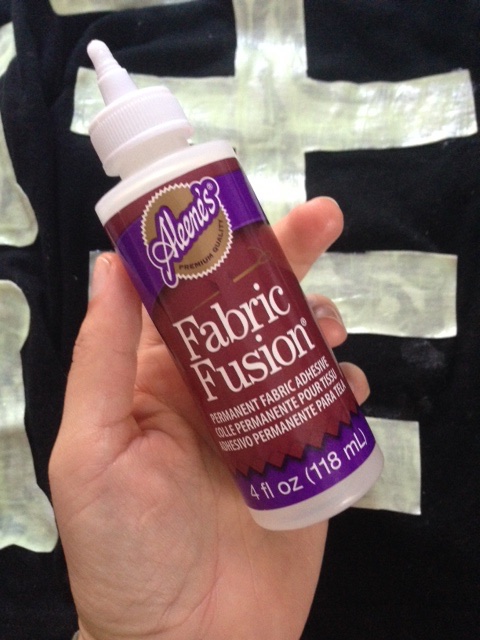
I applied the glue pretty liberally as well, making sure to get it close to the edges.
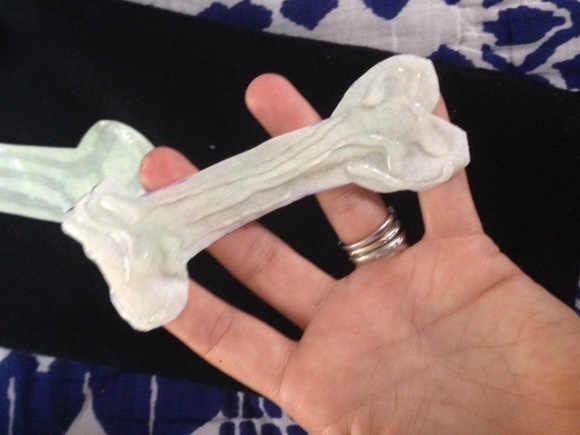
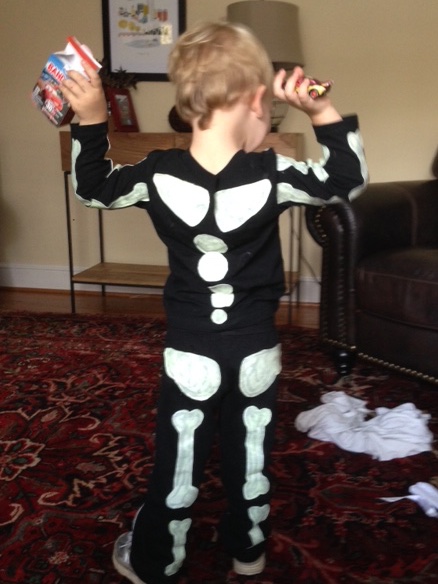
The finished product —
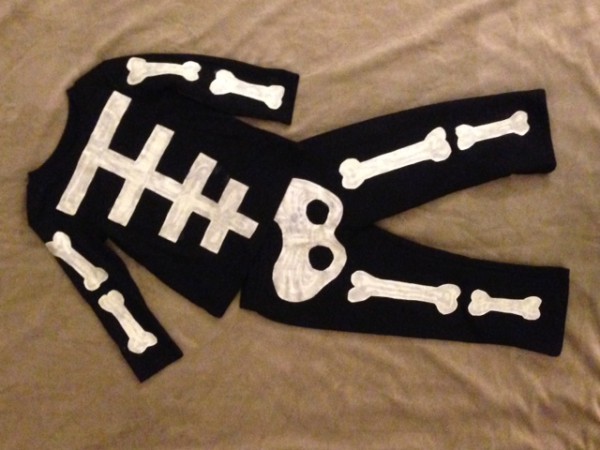
Front
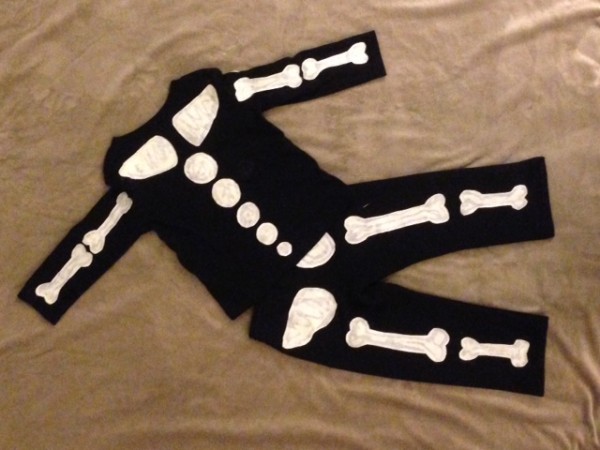
Back
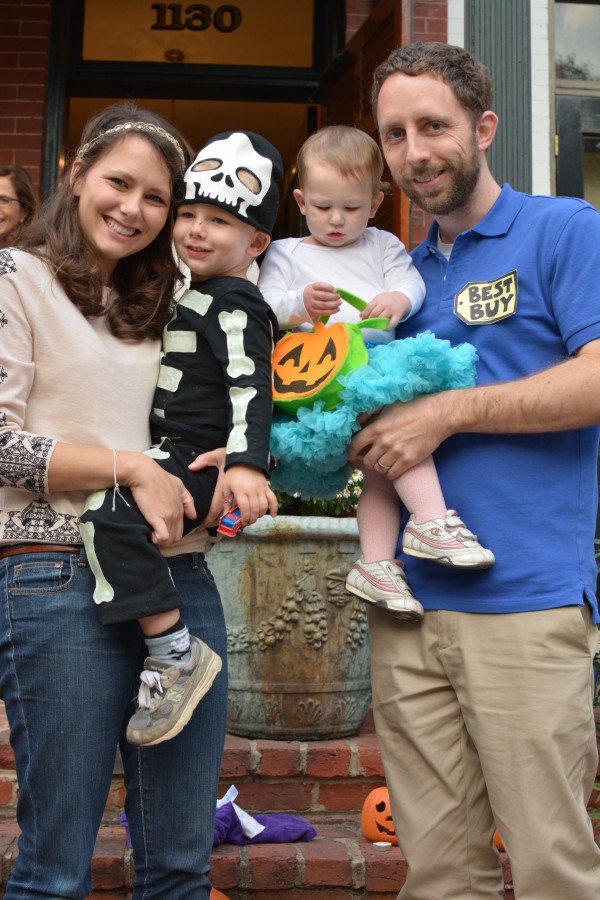
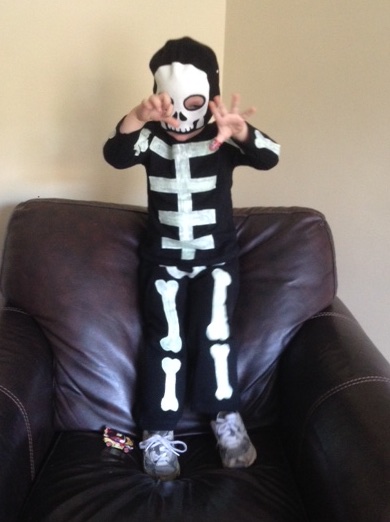
It looks even better on.
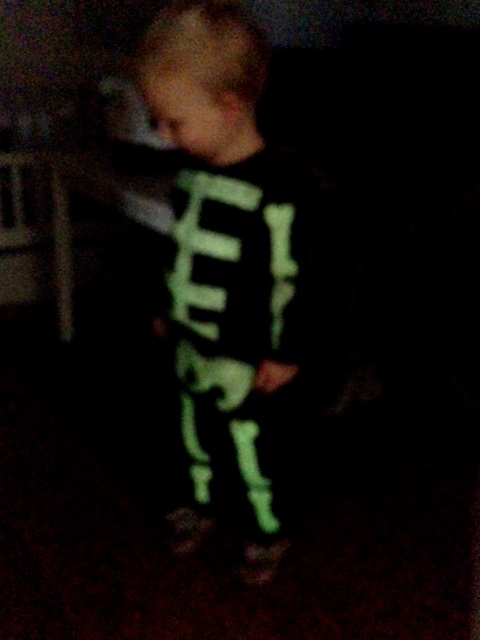
My favorite part — glow-in-the-dark is amazing.
We picked a few accessories, a skeleton hat and skeleton gloves (that we lost way before Halloween), at Dollar Spot at Target.
Those scary hands and that skeleton attitude, though? Those aren’t available for purchase. Those are all 100% David.
A year later, David still asks to wear his skeleton costume…and I let him. He wears it to the playground, the grocery store, to friends’ houses.
And if he wants to, I’ll let him wear it again on Halloween. But I might be willing to Google bat costumes, too.
Some of the items used:
Skeleton beanie & gloves (similar)
This post contains affiliate links for your convenience


This is super cute and I love how easy it would be to layer underneath if the weather isn’t so great, which it usually isn’t for Halloween near me!
Very cute idea, and easy. Thanks for sharing your link with us all at the Welcome Wednesday Link Party.
What a great idea! Halloween costumes are so expensive and this one looks just as good (and not as scary) as one you would buy at the store! I also love that you made it glow in the dark!
ADORBS!!!! And brilliant about the glue. 🙂
Found you via Sat Soiree
This is absolutely adorable, and I love that you saved yourself a bunch of money in the process.
That is too cute! Thanks for the fab tutorial!
Aw great job, Mommy made Halloween costumes are the best! 🙂
Oh my goodness I am so happy I found this!!! My lil one would look amazing in this costume! Thank you for sharing! #mummyandus
Kristen
I LLLLLOOOOOOOVVVVVEEEE IT!!
I have been shopping around for an outfit for him this year. Everything I have seen is just cheap and nasty and doesn’t look a: very wearable b: safe.
I am so going to have a go at this. Thanks for the inspiration.
#mummyandus
Sounds like you have the creative bug now. I look forward to seeing more creative pieces from you. #mummyandus
This is great! I must say even though we don’t do much for Halloween, we always buy Mia a costume to wear on the day. I don’t think iam confident enough to make my own though!! 🙂
#mummyandus
love how it glows, really cool costume, my son has dress up day soon great idea. #mummyandus
Super cute! Looks so good! Pinned and tweeted. We truly appreciate you taking the time to be a part of our party. Please stop by and party with us again. The party starts Monday at 7 pm and ends on Friday at 7 pm. Happy Sunday! Lou Lou Girls
I’m thankful that you shared a tutorial, but I really wish it had been much more thorough. You did not explain that you did not use the bone shape for that printable skeleton you linked. I ended up having to alter a bunch of the bones because the ends were wrong. I get that your photos showed the bone shapes, but you did not state it anywhere that it was different. I tend to follow the text more than the pictures with step by step tutorials. You didn’t note that we’d need to print/draw double the amount of leg/arm bones, as the skeleton stencil linked is for a 2D skeleton. I realize that I could have figured this out, but I followed your tutorial thinking that if I needed to do something, you’d make a note of it, as that’s what tutorials are for. It’s the day before Halloween and I’m now scrambling to draw 8 more arm/leg bones and I’m thankful that I bought more glow in the dark paint than I thought I’d need. I was stressed and didn’t think everything through. Thanks again, but please add these notes, as even though I saved this tutorial a while back, it could still be floating around Pinterest easily.
hey! sorry you were disappointed. to address directions you overlooked for future crafters, here are direct quotes from the original blog post:
[stating that i did not use the printable, but drew my own]: I found a printable template online (here), but drawing my own seemed as easy as printing and tracing — though I did use a ruler to help with the ribs.
[stating that i had to draw most of the bones more than once]: I used most of the bones more than once (i.e., two forearms, two femurs, etc.), so I drew some arm bones on a piece of paper and traced them a few times.
[…] chose Homemade Toddler Skeleton Costume […]
[…] Skeleton […]
[…] Check it here. […]
What a crafty mama! I love this more than you know.
i’m so glad!