Mary is on a crusade to make homemade gifts for all of her family members. Also all of her friends, classmates, people she rides the bus with, and she’ll throw in a free Christmas gift to anyone who signs up for Disney + before the end of 2019.
She’s so ambitious and excited about it, I love it. But I’m also incredibly realistic (Grinch-ish?) about the amount of work involved.
We’ve been scouring Pinterest for ideas with keywords like Simple! DIY! Kid-friendly! Mom won’t have to help at all! In fact Mom can nap! There will be no clean-up! Promise.
We are still looking, but in the meantime we’re planning to knock out the first 500 people on her list with this craft we made last year.
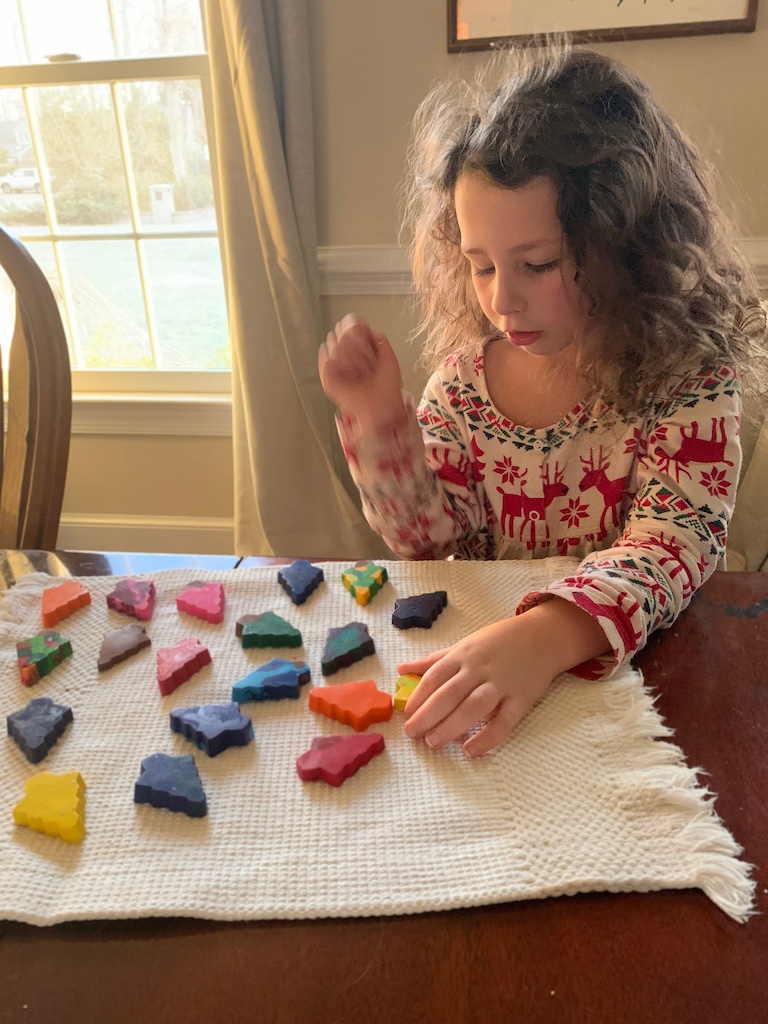
This is one of those unicorn crafts that I can do with all four kids — David (age 8) is interested and Anna (age 2) can’t wreck it. Also, I love that you can reuse all of those broken, discarded crayons at the bottom of the crayon box.

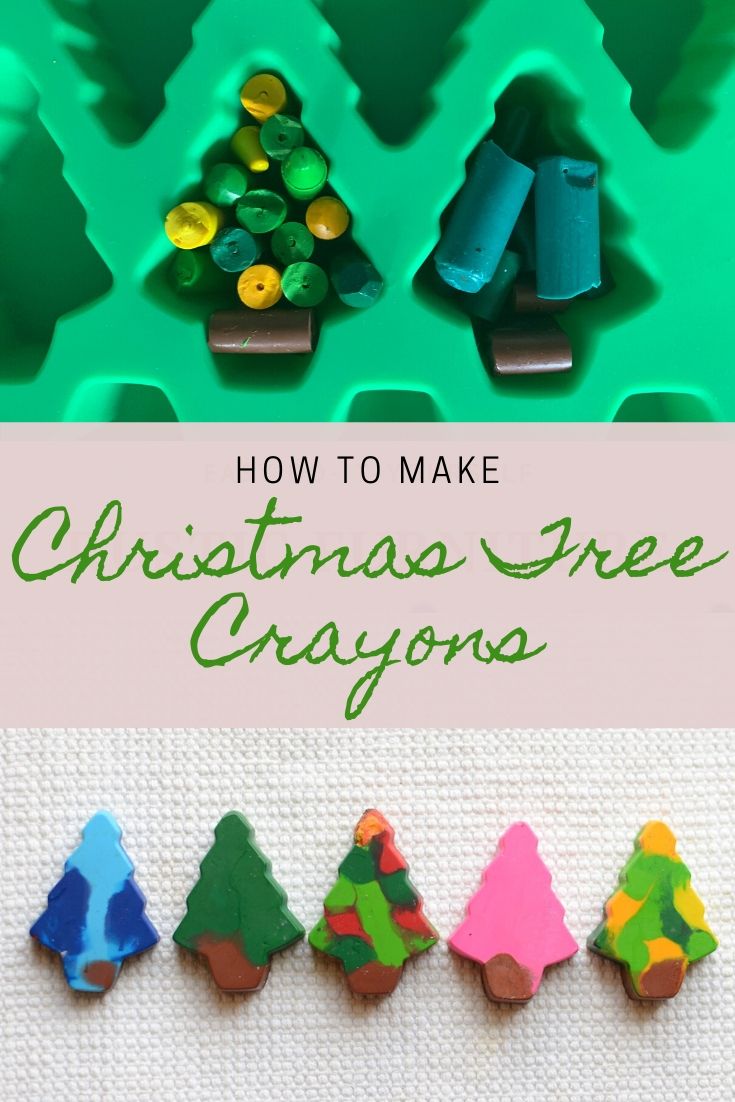
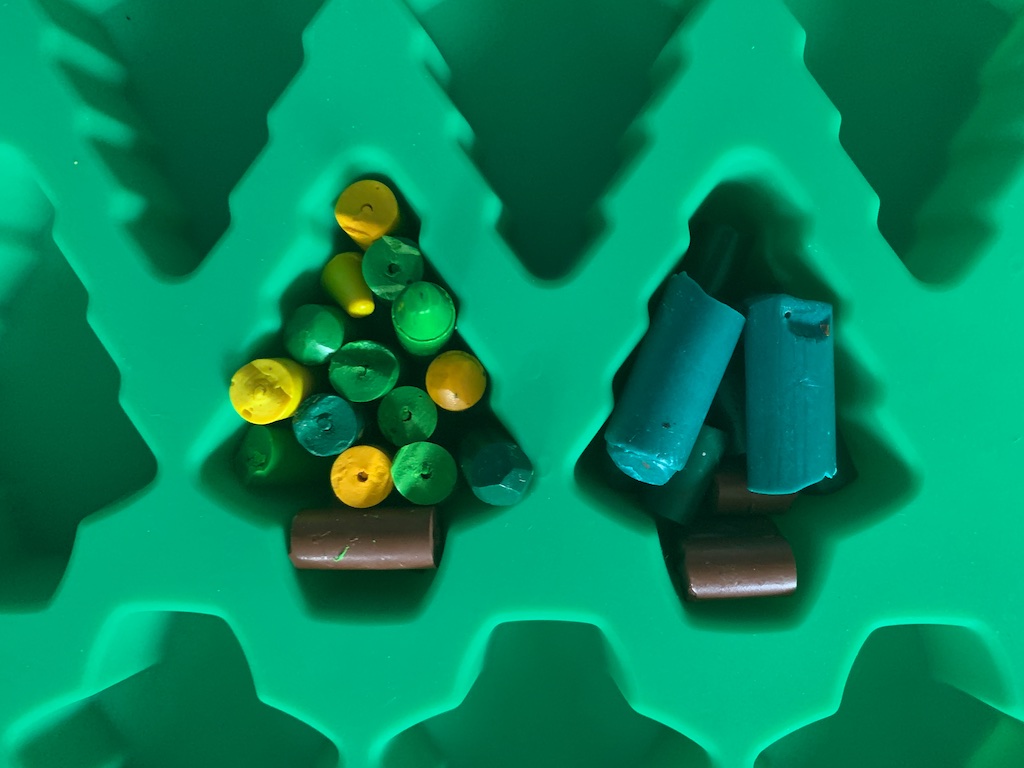
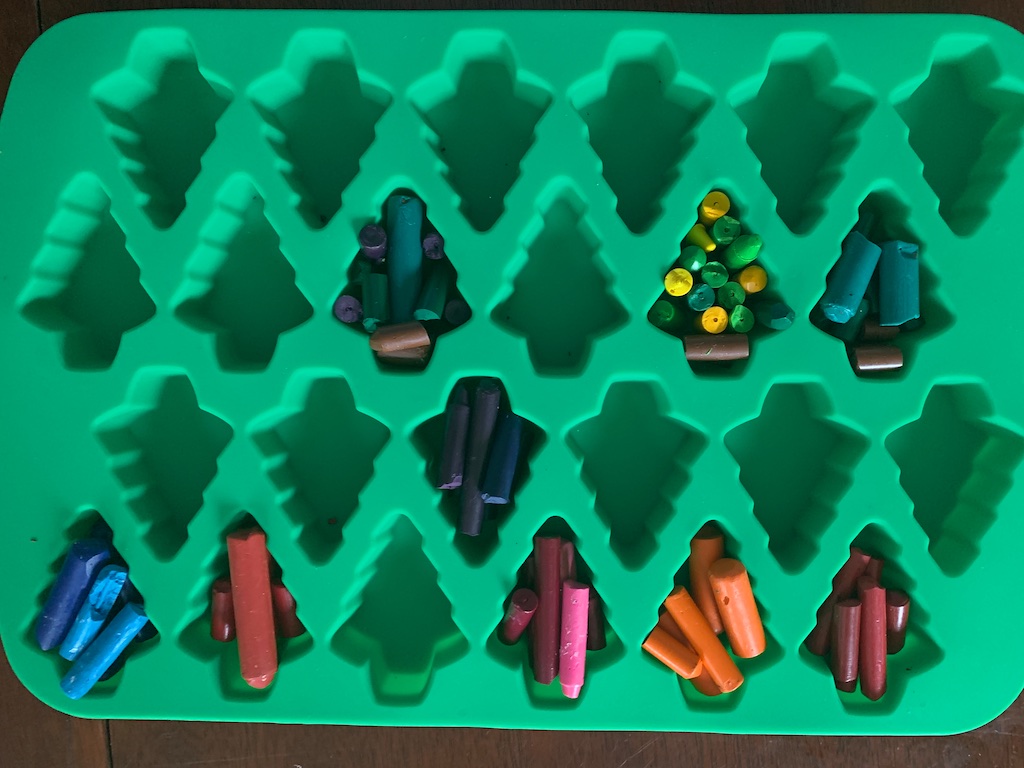
Halfway through this I decided to try to experiment with the crayons by placing colors strategically. I inserted the crayons vertically to make Christmas lights, or to add a trunk to the tree. I was AMAZED by how well it worked.
The colors mostly stayed where I placed them. I did notice that if I let the crayons melt for a really long time, the wax became more liquid and traveled a lot more.
You can see here how I placed the brown crayons at the bottom, with green (and shades of green) on top.
What you need:
- a pile of broken, discarded crayons (you could totally buy new crayons, but this is so great for using up old crayons).
- silicone mold — there are lots of options on Amazon. Here’s the one I used.
Directions:
- Preheat oven to 220 degrees F.
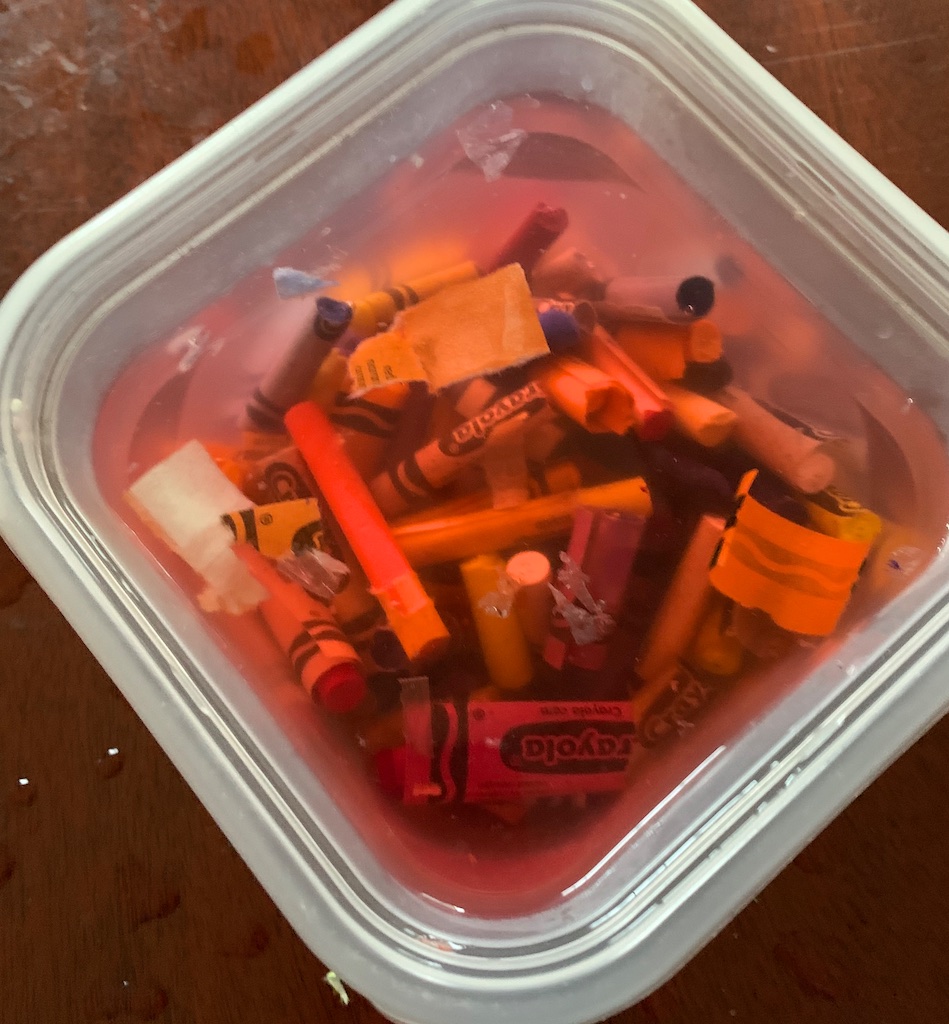
- Remove paper wrappers from crayons by soaking crayons in water. It works remarkably well. You and your kids will be amazed.
- Break crayons into smaller pieces and place them in the silicone mold. Fill each mold about three-fourths of the way full.
- Get creative! My favorite part of this was experimenting with the final product. We tried making Christmas lights, a star on top, a trunk. We were excited by how well everything worked.
- Place silicone molds in the oven and bake until they’re completely melted — it takes about 20 minutes. NOTE: The hotter they get the more the colors “travel” so if you’re hoping to keep the colors where you put them, take it out as soon as it’s melted.
- Carefully remove the crayons from the oven and allow to cool until they are completely hard, between 20-30 minutes.
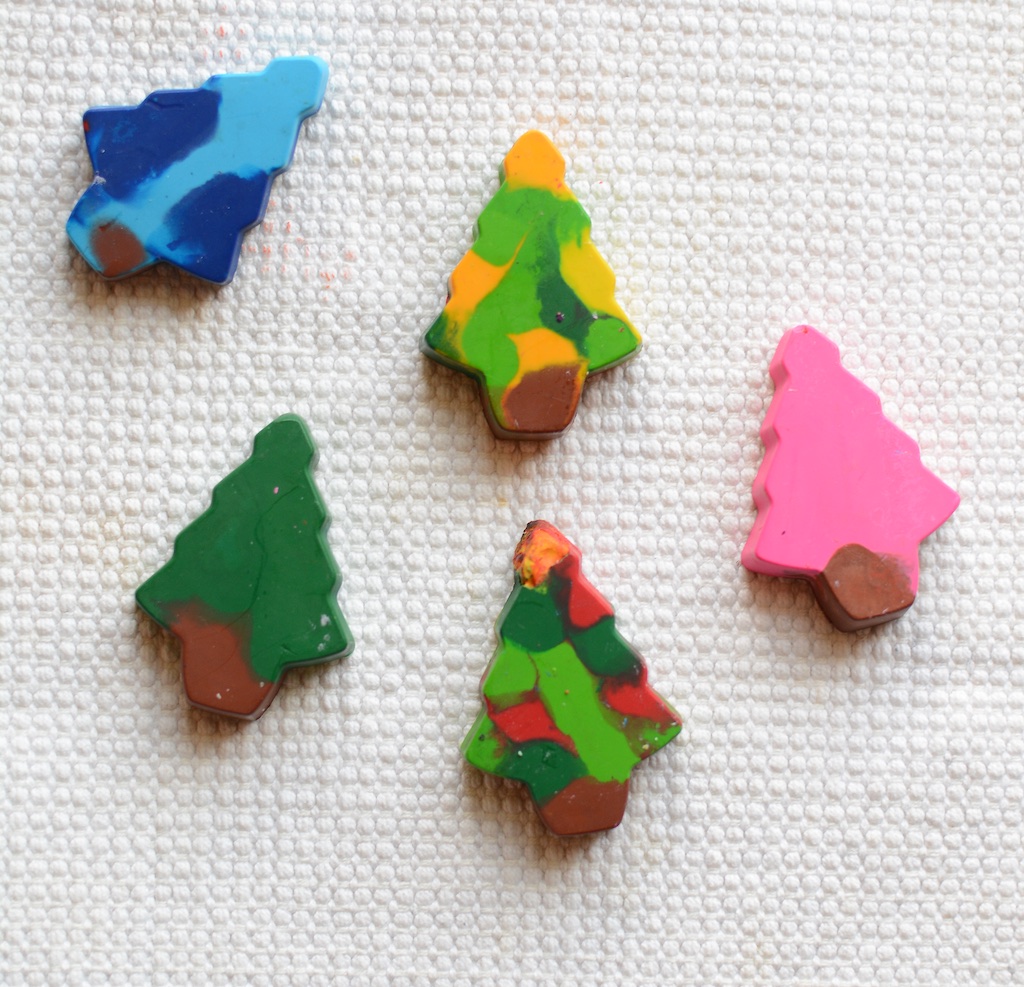
- Carefully remove your crayons and you’re done! Crayons are ready to gift or use.


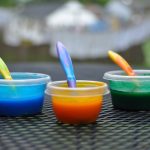


I’ve seen candles made the same way. A friend does it for Mother’s Day with her class, as by May, she has a good collection of broken crayons. But, she says the Rose Art crayons don’t work, as they have a horrible odor when melted.
I’ve been helping a small friend do bath bombs using silicon molds. However, he has decided to simply make small bags of it, with a bow. Pressing it into the molds proved tiring and time consuming.
that’s interesting about the Rose Art crayons! I think that’s what I used for the yellow star at the top of the green tree and you can see that it melted weird — it was sort of crumbly and had a bunch of bubbles in it.
Oh man, soaking them in water is brilliant!!! We did this one year, just in cirlces bc that is what I had, and I had crayon and paper crammed so far up my nails trying to peel the papers off. I can’t believe I didn’t think about that. Keeping that tip for sure!
oh man lynsie, one year i planned a crayon activity and i decided that we were going to peel off the paper all together and it’d be a good fine motor activity. guess who ended up laboring over the wrappers by herself!?
someone told me the water trick and it was AMAZING.