David’s preschool class has a stuffed narwhal as a mascot, and in just a few short months David has turned into quite the narwhal aficionado.
As we were thinking about Christmas, David wanted to get a narwhal for his teachers. While I thought that was a great idea, there were just so many licenses and permits and we couldn’t find any free shipping Black Friday deals so, you know, back to the drawing board.
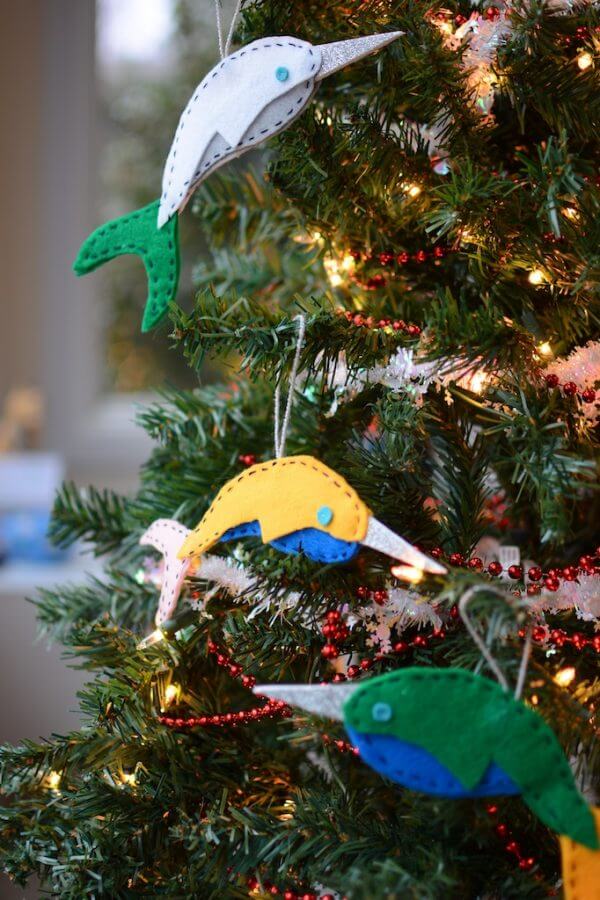
We decided to make simple narwhal ornaments.
I wanted a simple craft that David could help with at least a little bit. The teachers would certainly be impressed with my cutting and stitching, but if I know preschool teachers, I know that they want to see their students’ creativity.
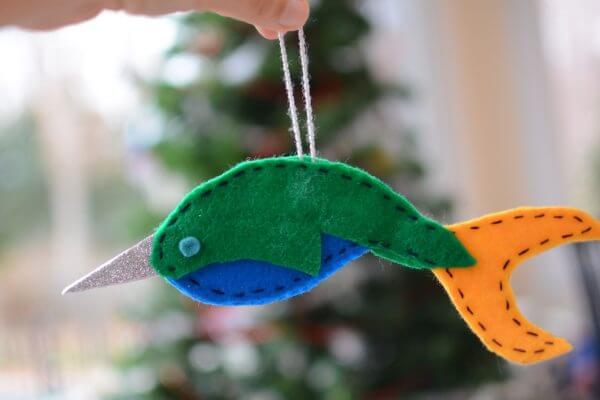
I was delighted with how well they turned out, and how easy it was.
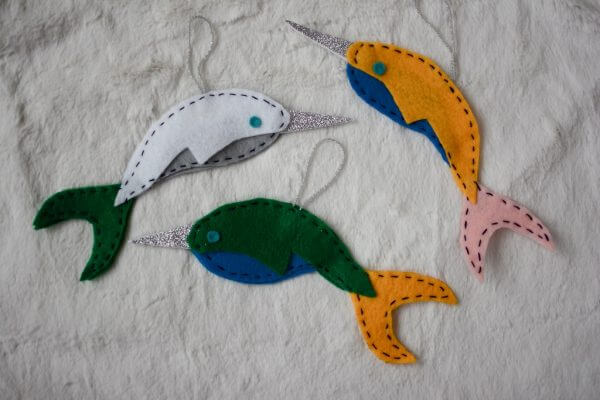
I drew a simple pattern and let David choose the colors, then he cut (most of) the pieces. He started off really strong, but each little narwhal got more and more jagged, so I cleaned up the edges while he moved on to something else.
The super-easy, even my five-year old can help, instructions are at the bottom of this post, including a printable PDF of the pattern pieces.
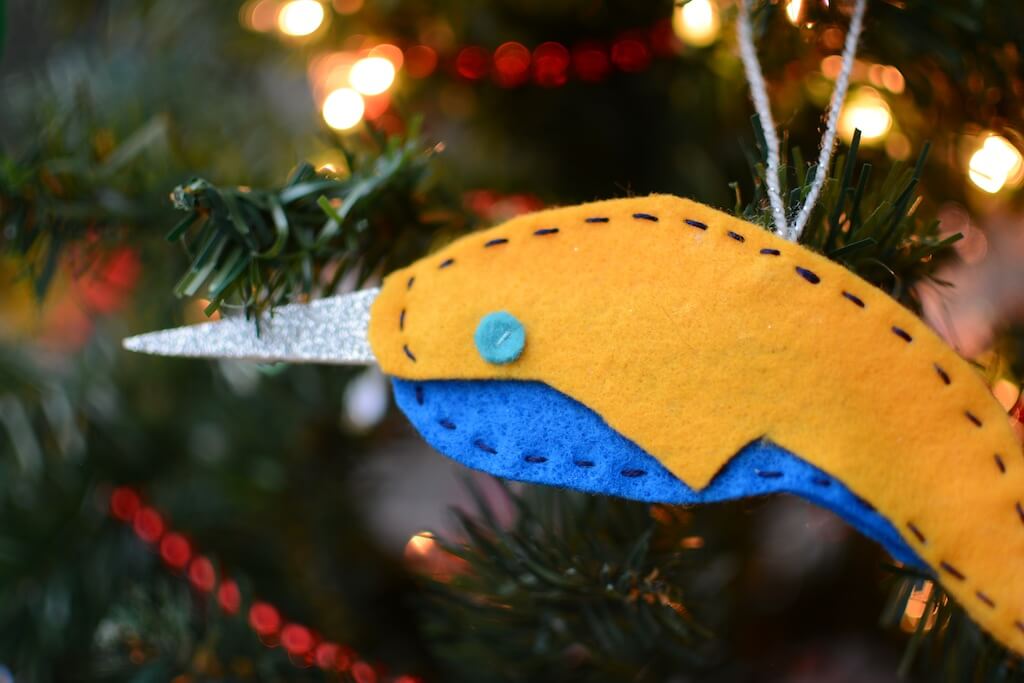
With the pieces cut, I stitched the eye and then glued the rest of the pieces together to secure them.
I thought about stopping there, but decided to finish them with a quick (uneven, imperfect, don’t look too close…) running stitch around the edges.
And that’s it. If your tree doesn’t have a narwhal, well then I suggest you get crafting. Only five sleeps till Christmas!
Easy DIY Narwhal Ornament
Supplies
- 2-3 colors felt
- sparkly foam
- fabric glue
- embroidery thread and embroidery needle
- 3-4″ yarn (for hanging)
Directions
- Cut all pattern pieces and to make a double sided narwhal, trace BOTH SIDES of each pattern piece.
- Arrange pieces to form narwhal. The pieces (especially the belly and tail) overlap, so arrange them to look the way you prefer.
- Place the eye and secure with a stitch using embroidery floss
- Tie a loop in the yarn and glue it to the top of the back for hanging
- With fabric glue, glue pieces together to secure them
- With embroidery floss, use a running stitch around the edge of the narwhal (leaving a 1/4″ edge). Be sure to secure each piece of the narwhal including the horn and a few stitches through the yarn loop.
Click the image to download the printable pattern (or click here).


Great and inspiring DIY post. You just gave me an idea what to place on my Christmas tree this coming Yuletide season. 🙂