Spring is just around the corner, so we’ve started some seeds indoors and are planning our garden.
In our last home our backyard was small, but it was perfect for a garden. The term “full sun” was invented for our backyard; there was only shade when the sun was down. In the summer it felt like standing inside a dryer on high heat. I would regularly hang clothes on the line and they would be dry in under an hour, so the dryer comparison really isn’t an exaggeration.
The yard was in hospitable to humans, but perfect for growing vegetables, so I gave pretty much the whole thing over to a garden. (Plus, there was a streetlight right over our yard, so I could work in the garden at night when it was cooler. I know, WHY DID WE MOVE!?)
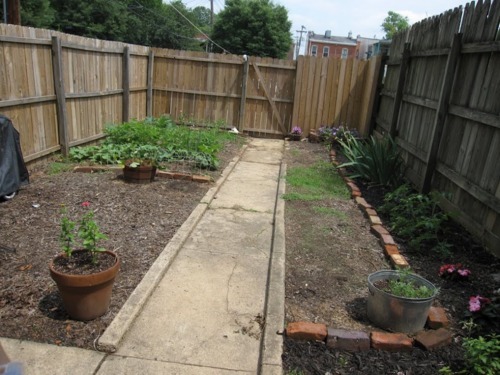
The backyard in our new house is much larger, but it has a huge willow oak. The oak provides shade, making the space hospitable for non-reptilian creatures, but it doesn’t have many sunny spots for the garden of our dreams.
SO
We’re trying some vertical gardening.
I saw this idea on Pinterest:
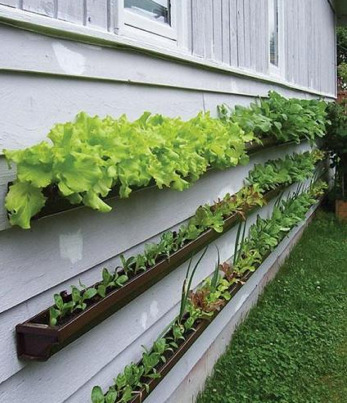
I love this idea, and we have a shed that gets a ton of sun. The site the shot came from doesn’t provide directions, so we were sort of winging it. We learned a few things along the way, but I’m really excited about the final product.
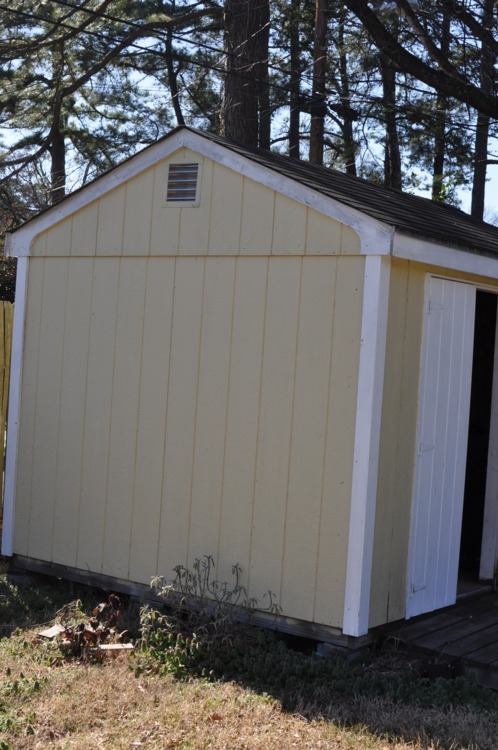
Before we started, our shed looked like this.
Tom bought two 10’ gutters. Gutters are incredibly cheap. I had no idea. Just $5 for 10’.
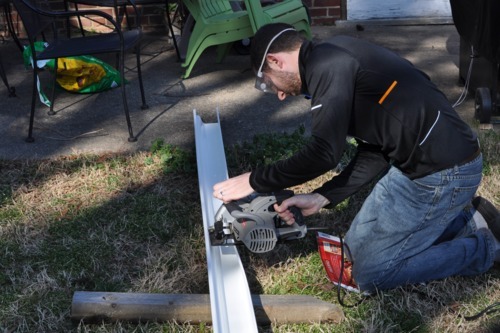
The side of our shed is a little more than 7’ long, so instead of cutting the gutters to 7’ and having 3’ left over, we just decided to cut them in half and stagger them on the wall.
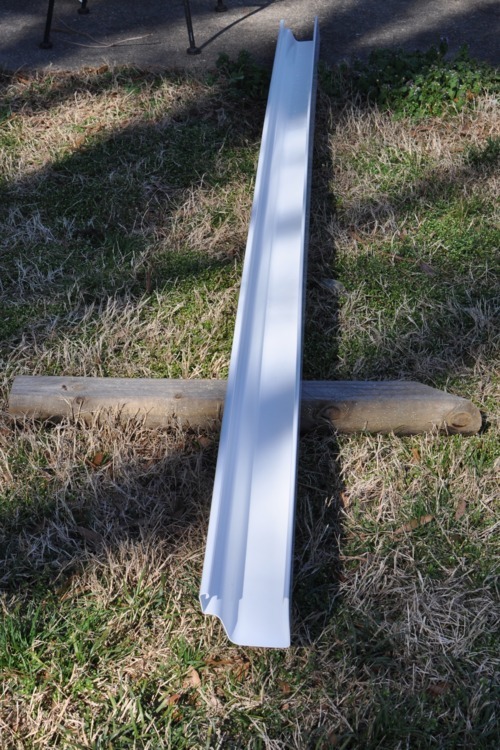
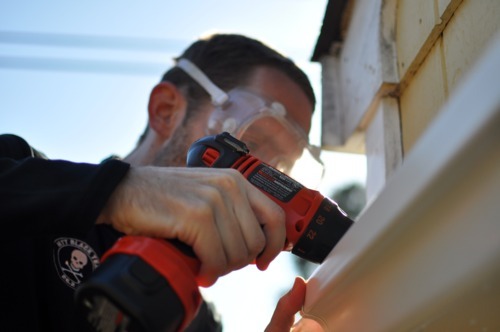
They cut easily with a circular saw. Tiny plastic pieces flew everywhere, so strap on your safety goggles, people.
Next, I drilled a bunch of holes for drainage.
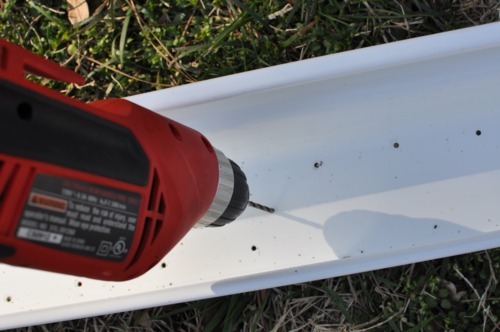
It was all going great until this happened.
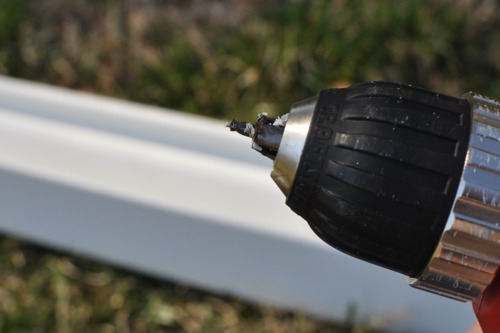
Broken bit. Awesome. I have no idea why this happened. The drill had no problem getting through the gutter. It was definitely user error — I was sort of “punching” the gutter with the drill. Don’t do this. You will break your drill bit.
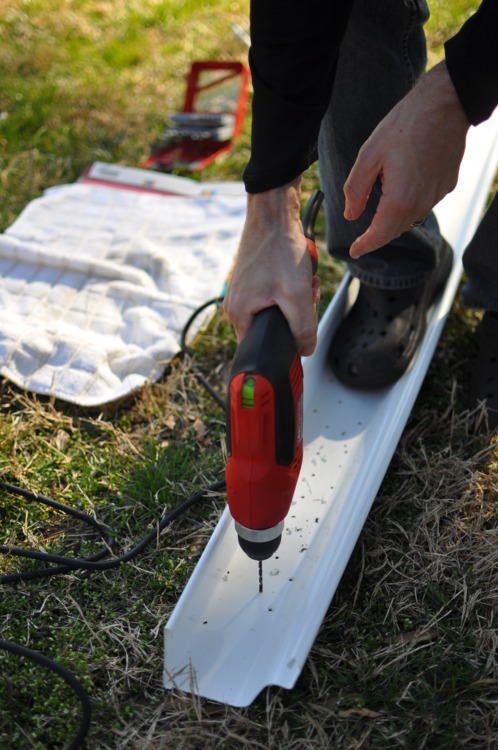
So Tom finished the drainage holes. We had enough broken bits for one day.
The next step is capping the ends. We got two pairs of handy gutter caps, which do a great job. But they cost $9 a pair. $9! That sure seemed steep because 1) 10’ of gutter was so cheap 2) we are so cheap.
We only got two pairs and vowed to figure out some other way to cap additional gutters.
They are sort of, um, perfect for the job though. Look how well they turned this:

Into this:
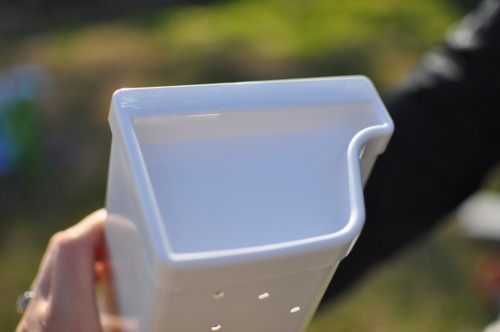
Definitely put the caps on the gutters before attaching them to the wall. When they’re screwed on and flush with the wall, it’s hard/impossible to squeeze the cap on the gutter.
Next up was attaching them to the shed. The most secure way to put them up there was to screw them into the studs. We’d measured the shed wall, but not the distance between studs. We ended up with about 8 inches over hang. Oh well, but if we did it again, that’s something we’d do differently, i.e., LESSON LEARNED.
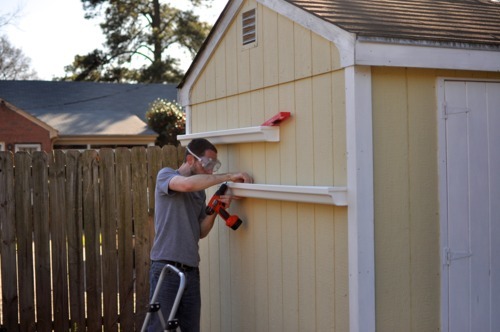
With the help of a level, a screwdriver, safety googles, and his lovely wife, Tom hung the gutters.
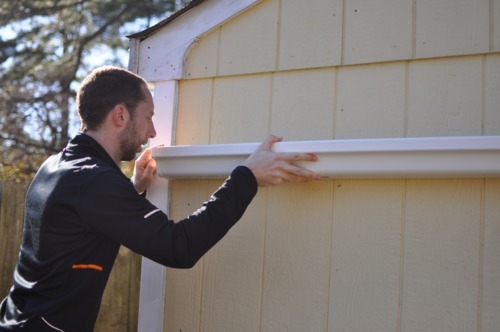
The whole process was pretty simple, especially from where I was standing.
By the way, no “Krieger family hang-gutters-on-the-shed Day” would be complete without the littlest Krieger.

His job was “lay in your bouncy chair and be happy”. But he didn’t take it seriously. He kept doing this.
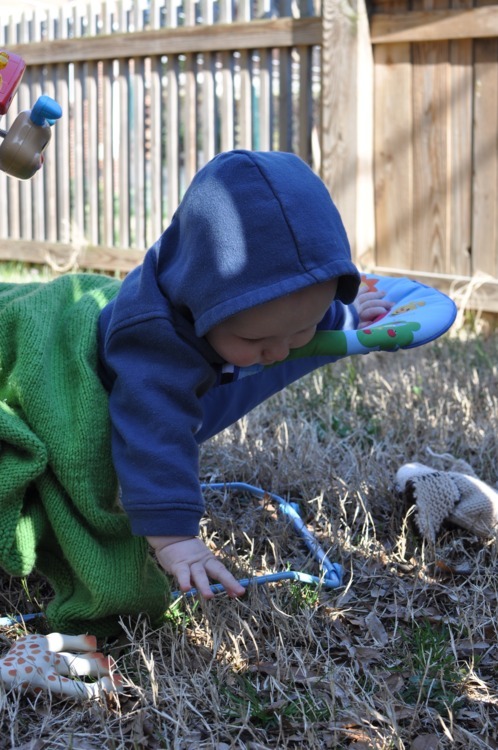
So he got fired from that job and had to spend the rest of the time hanging out with mommy.

Ok, back to the business at hand.
This photo shows height and spacing. While he was hanging the first gutter, Tom pointed out that I’d have to use a step ladder whenever I needed to access them. True. But I REALLY wanted to start high because I planned to stagger gutters down the whole wall. Now I’m not sure we’re going to do that (what with the high price of gutter caps and all) so I’m second-guessing the height.
As for spacing, there’s about a foot between the first and second gutter.
Next up was my part. I filled each gutter with dirt, and planted a whole bunch of greens. My sister-in-law planted greens last year and they were awesome, so I just followed her lead. The bottom has arugula and butter crunch lettuce, the top has mesclun and a little spinach. Apparently they dry out quickly, so I’ll water them daily (so far I’m using a hose and don’t need a step ladder for that part).
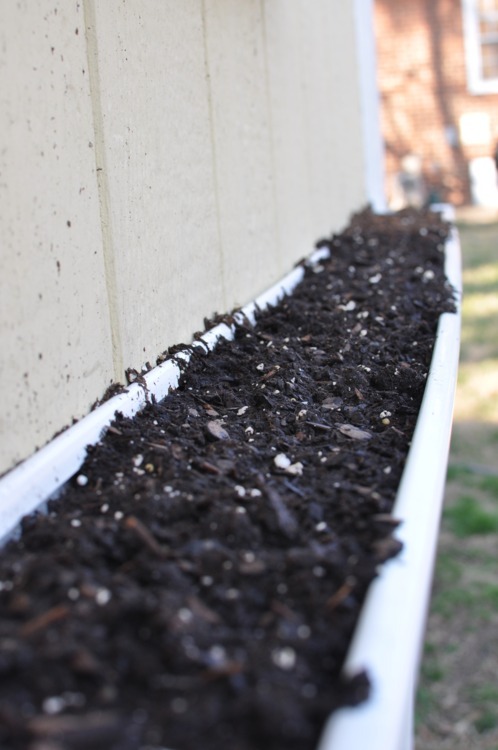
I don’t have a lot of experience growing greens, but I’m looking forward to some fresh salad.
I’m also on the lookout for more plants that would thrive in these shallow planters.
Any ideas?


color me impressed.
very cool idea.
This is super cool! You’ll have to update when things start sprouting! Would be a great inexpensive alternative to window boxes, too!
Hi! I am completely obsessed. How wonderful this is. I’m doing it in NC with our 80 degree weather this weekend. Stopping in from the link party from <a href="http://bodesandollie.blogspot.com" rel="nofollow">bodesandollie.blogspot.com</a>!
I saw this linked up on Bower Power and had to come check it out. We have a ton of gutters that need replaced due to the holes and cracks in them but now we can repurpose them! I have perfect spots in mind too! Thanks for the idea… I hadn’t seen it (that I remember) on Pinterest. We are definitely working on increasing our garden space and this would be good… and also fun just for flowers for an extra touch of color!
I saw your idea on YHL. Love it, Love it, Love it! And could David Andrew be anymore precious. I don’t think so!
I’d love to see your completed project, drop by with a link if you blog about it.
These look great! Such a good idea for those with little outdoor space. What are you planning on growing in them?
so far I planted arugula, mesclun, butter crunch lettuce and spinach. Those are all cool weather (spring) greens, so I’m on the lookout for other plants that will thrive in shallow planters.
What a cool idea! I pinned a similar project, but the gutters were hung from a patio rather than attached to a wall. Great job, and thanks for linking up with the Winter Pinterest Challenge!Erin @ The Great Indoors<br><a href="http://www.tatumgreatindoors.blogspot.com" rel="nofollow">www.tatumgreatindoors.blogspot…</a>
I love this! Such a creative idea for those tricky spaces… we don’t have much of a yard now and are also trying to figure out how to do a little gardening… probably pots for this year, but I’m gonna keep the gutter trick in mind!
my concern is.. is that led paint on the shed?? if so its going right into your veggies… is that plastic gutter?/ if so its full of toxins..
Thanks for asking — the shed is just a few years old, so the paint isn’t lead paint. And I’d love to learn more about why you think the plastic would put toxins in the plants, since most plants are grown and sold in plastic containers.
I LOOOVE this!! I am looking for ideas to plant vertically on our fence. We have a fence all around, much like your first photo, and I think this would be great! Do you think it would be okay attaching to a fence? Do the gutters seem study enough with the soil etc in them? Has anything started growing yet?!?! Come check me out at <a href="http://azcubed.wordpress.com" rel="nofollow">azcubed.wordpress.com</a> I am obsessed with pinterest!
Can’t wait to see how everything grows! I’m looking forward to trying to grow some salad greens in containers.
[…] we moved to our current house, we left behind a backyard with something like 10 hours of sunlight, a gorgeous iris bed, and a strawberry […]
[…] been almost a month since we built our gutter garden, and a few days ago we had our first salad from early […]
[…] few weeks ago, around the same time we made our gutter garden, we planted a bunch of […]
How has your gutter garden held up? I saw another tutorial where she used brackets every couple of feet to attach the gutter to a fence. The brackets were rather expensive, but she felt that it would hold the gutter up better with the weight of the soil and plants. Have you found that the front of the gutter sags at all? Thanks for a great tutorial!
Our gutters have done really well. We didn’t plant anything in them last fall, but plan to this spring (and, meanwhile, they’ve had dirt in them). The gutters are sagging just a teeny tiny bit in the front, but nothing serious, and nothing that affects their functionality. This project is so cost-effective, you could probably hang them like we did, and then if yours sag you could add brackets. I’d think the best way to prevent sagging would be to cut shorter gutter pieces.
We were really pleased with how they turned out, though. I’ll post an update when we plant in them this spring.
Thanks Amanda! I found a guy who hangs gutters who is willing to let me dig in his trash. 😉 Appreciate your tutorial so much!
Thanks for the tips! My friend is giving me some leftover gutter, and now I know just what to do with it!
Definitely be doing this in the next week or so. Thanks for all the insight!
Hi! I saw your idea on Pinterest and decided to give it a try! My husband and I just hung two gutters and I just planted some strawberries in one and the other half spinach and half lettuce. I can’t wait to see how all of this turns out! My husband suggested to support the gutters because of the soil and water will put some weight in them. We use some left over deck pieces that we cut in 45degree angles and nailed them under the gutters. So we suggest some kind of brackets to reinforce your gutter(s) garden.
Just fantastic! Featuring this evening on The Painted Drawer Link Party! Thanks for sharing! And you baby is gorgeous!
awesome! thank you so much! i can’t wait to see the feature!
This is a good idea , I am searching for design to our fence
. Glad that I found your blog .